Hi there! Are you tired of making Mailing Labels? Guess what you came to the right place. In this article, we will discuss all the steps of creating mailing labels in Excel.
Creating and printing Mailing Labels in Excel requires eight simple steps to accomplish. This article describes all the steps involved in this process.
And, a practice Excel worksheet is attached to the article. Make sure to download your copy and start practicing the process discussed in the article.
Download the Practice Workbook
Click here to download the Practice Workbook.
How to Mail Merge and Print Address Labels in Excel with Easy Steps
Mailing labels are stickers that are attached to envelopes or shipments. They have names and addresses to ensure that mail is delivered to the right place. “Mailings Label” is a tool in Microsoft Word or Excel that allows you to generate and print these labels. It allows you to import names and addresses, edit the label design, and print multiple labels at the same time. It is ideal for sending large amounts of mail, such as invitations or newsletters.
Here is the flow chart of the steps to create mailing labels in MS Word. Make sure to follow the steps to learn how you can do this.

First Step : Prepare Excel Worksheets
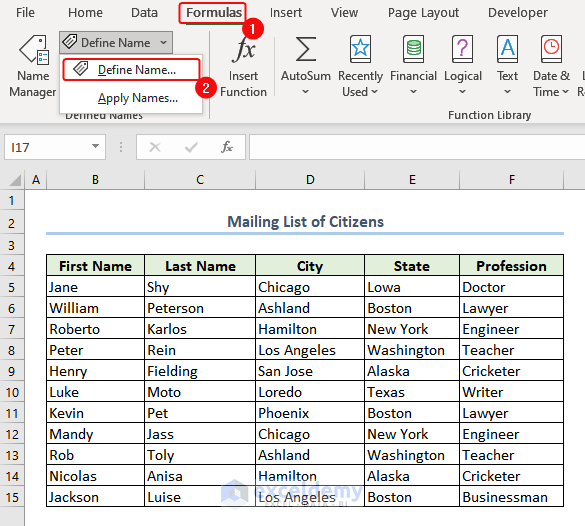
- First, prepare a dataset in Excel with a unique column name.
The dataset we will be working on is presented below with the column name First Name, Last Name, City, State, and Profession in it.
- Then from the Formulas tab, click on the Define Name.
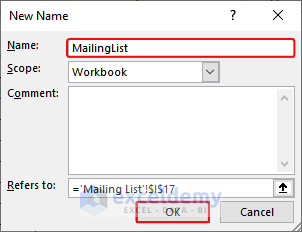
- A dialogue box named New Name will appear. In the Name field, we will enter a name for our address list. Here it is MailingList.
- Then, click OK.
2nd Step : Set up Mail Merge Document
2.1 Create New Word Document
- Now we will go to Microsoft Word and there a blank Word Document.
2.2 Start Mail Merge
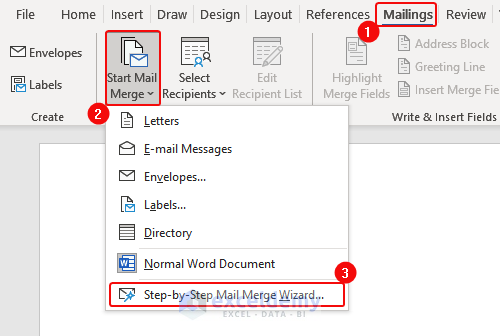
- go to Mailings > select Start Mail Merge > select Step-by-Step Mail Merge Wizard.
2.3 Select The Document Type
- choose Labels and then click on Next: Starting Document.

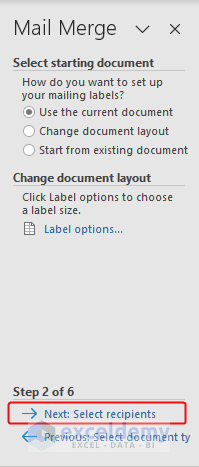
2.4 Choose The Starting Document
- Then, select Change document layout in the Select starting document option.
- After that, we will then click on Label Options.

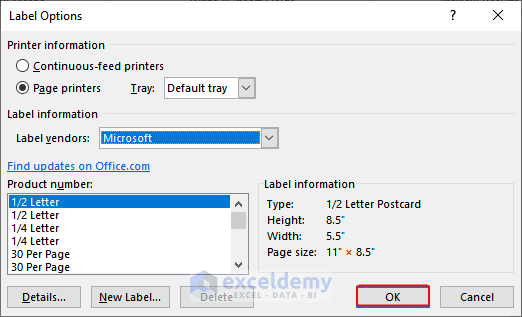
2.5 Configure Label Options
- In the Label Options dialogue box, click on OK.
- If needed you can also click on Details to change the other things of the Labels.
- Now, we’ll return to the Mail Merge Then click Next: Select recipients.
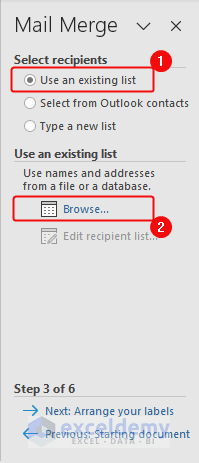
3rd Step: Create Interlink
- In this step, select Use an existing list under Select recipients.
- After that, to find our Excel Worksheet click Browse.
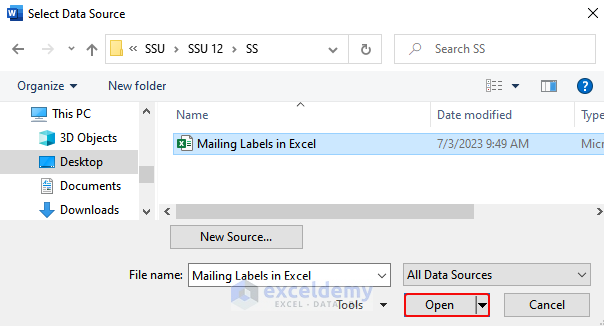
- Then, we have to select our Excel Worksheet from the folder where we saved our Worksheet. And after selecting the item, make sure to click on Open.
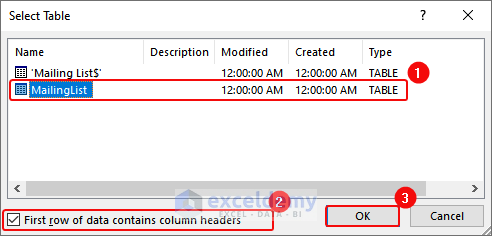
- A Select Table bar will appear.
- Then, choose the Defined name which is MailingList here, mark the First row of data contains column headers, and click OK.
4th Step : Set up Mail Merge Document
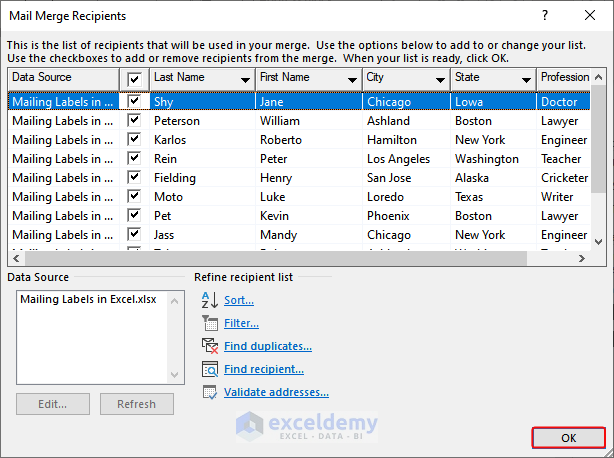
- Then, the Mail Merge Recipients dialogue box will appear, there you have to click on OK if you want all the people on the mailing label. Otherwise, you can uncheck the names that you don’t want at all.
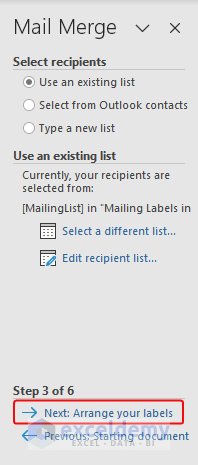
- We will click Next: Arrange your labels in the Mail Merge
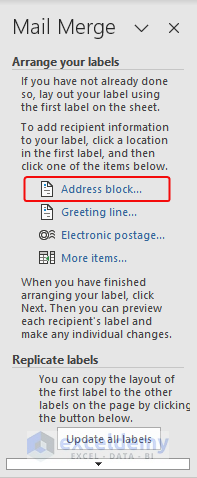
5th Step: Arrange Address Labels
- In this step, click on the Address block from the Mail Merge window.
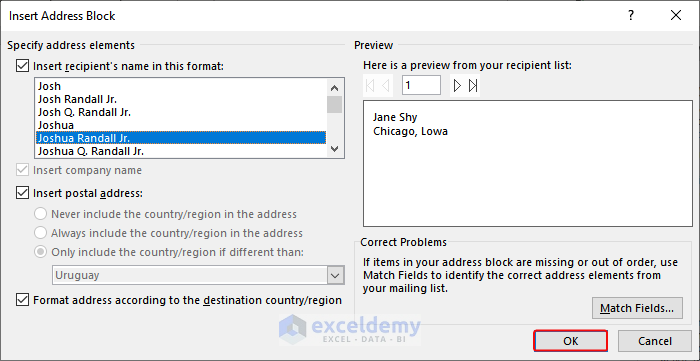
- In the Insert Address Block dialog window, select any of the formats in the Insert recipient’s name in this format And then click OK.
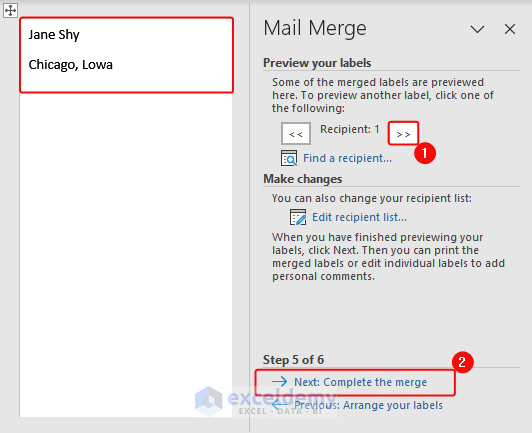
6th Step: Preview Mailing Labels
- Click on the icon to see the outcome one by one in the Preview your Labels section in the Mail Merge
- After that, click on Next: Complete the merge.
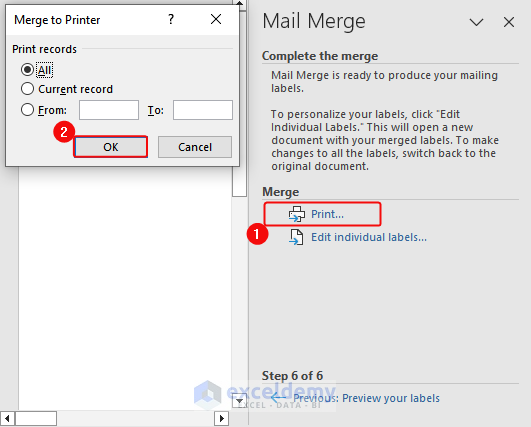
7th Step: Print Labels
- Now, click on the Print option in the Merge A Merge to Printer will appear, there check All and make sure to click OK.
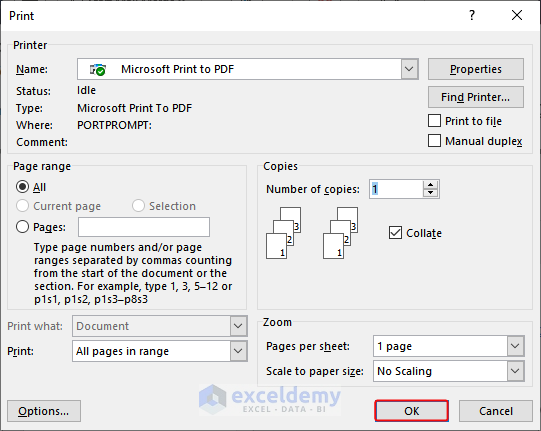
- Then set the printing environment in your favor. And click on OK to continue printing if needed. Otherwise, you can just save the file for further use.
Final Step: Save Labels
- By clicking the Save button, we can save the Word document. The Mail Merge document will be saved in an as-is format and attached to the Excel Source By employing this structure, we will instantly reflect all upcoming updates to our Excel file in the Mail Merge.
- Or you can just press Ctrl+S to save the file.
Things to Remember
- Stay organized: Create separate columns for each detail in your mailing list, such as names, addresses, cities, states, and ZIP codes.
- Accuracy is crucial: Double-check for duplicates and ensure all addresses are correct to avoid any delivery mishaps.
- Customize label layout: Tailor the label size, margins, and orientation to match your preferred design and printing requirements.
- Preview and perfect: Take the time to review the merged labels before printing to ensure they are visually appealing and error-free.
- Test print for accuracy: Print a few labels first to confirm proper alignment and layout before proceeding with a larger batch.
- Choose the right label sheets: Select label sheets that are compatible with your printer and ensure the labels align correctly.
- Customize printing options: Adjust the number of label copies, starting position, and range based on your specific printing needs.
Frequently Asked Questions (FAQ)
1. Can you print mailing labels directly from Excel?
Yes, you can print mailing labels directly from Excel. Here’s how:
- Prepare your data in Excel with recipient information.
- Select the data you want to include on the labels.
- Set up label templates in Excel.
- Choose the label type and size you’re using.
- Insert fields like name and address into the labels.
- Preview and adjust the label layout if needed.
- Print the labels on appropriate label sheets.
For details discussion, please make sure to go through the article above.
2. How to Create Labels in Excel without Excel?
Follow the steps to create a label without word:
- Prepare your data in Excel with recipient information.
- Decide on the label size you want to use.
- Adjust column widths in Excel to match the label size.
- Create a new sheet in Excel for your labels.
- Design the layout of each label using cell formatting, borders, and alignment.
- Link the label cells to the corresponding data in your original worksheet.
- Copy and fill the label layout for the desired number of labels.
- Configure print settings in Excel to include only the label sheet.
- Print the labels directly from Excel.
Conclusion
At first glimpse, all the steps seem a bit puzzling to understand. But if you have gone through the whole article, you will find that all the steps are presented so easily for you thus you can understand the whole process and apply it to your task.
If you have any problem regarding this article, you can comment below your problem. Our team will get back to you as soon as possible. Thanks for considering us. You can also recommend us to your friends and colleagues if they are looking for a complete platform for building skills in Excel.
Mailing Labels in Excel: Knowledge Hub
- Create Mailing Labels in Excel
- Create Labels in Word from Excel List
- Create Labels Without Word in Excel
- Mail Merge Labels from Excel to Word
- Merge Excel File to Mailing Labels
- Convert Excel to Word Labels
<< Go Back To Mail Merge Excel | Learn Excel

