Excel theme refers to a predefined combination of colors, fonts, and effects that we can apply in our workbook to make it a consistent and professionally designed look.
In this article, you will learn all about Excel themes.
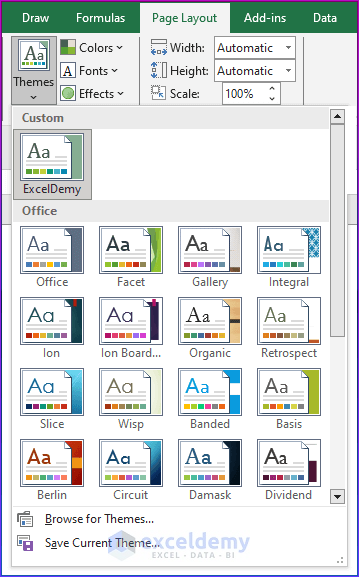
Excel has some built-in themes that are good enough for your use. In the following picture, you can see them at a glance.
After reading this blog post, you will learn the following topics about the Excel theme:
– How to apply a predefined Excel Theme
– How to create, save, and apply a customized theme
– Modification of Excel themes
– Making a theme default for a workbook
– Common reasons why Excel themes do not work properly and the solutions
We use Excel themes in our worksheets to improve the visual appearance and user-friendliness of the workbook. They are faster than manual formatting and offer a uniform combination of color palettes, fonts, and other effects.
Note: Excel Themes feature is available in Excel 2007 or later versions.
⏷Definition
⏷Effects of Applying Theme on a Workbook
⏷Apply a Predefined Theme in Excel
⏷Create a Custom Excel Theme
⏷Make a Custom Theme as Default for New Workbooks
⏷Delete a Custom Theme in Excel
⏷Excel Themes Not Working – Common Cases
⏵Cell Color or Font Color Remain Unchanged
⏵Everything Seems Okay But Still Themes Are Not Working
⏵Excel Themes Command Is Greyed Out
⏷Change the Whole Excel Interface Theme
What Are Excel Themes?
Excel themes are a set of consistent colors, fonts, and shape effects that allow you to customize the appearance of your whole workbook. When you apply a theme, all the color combinations found in the Excel interface, such as cell styles, fill colors, font colors, table styles, shape styles, smart art graphics, etc., are changed according to your applied theme.
The key elements of the Excel theme include
- Colors– a set of colors for text, background, links, and so on.
- Fonts– Specific font styles for headings and body text are needed to ensure a consistent and appropriate appearance.
- Effects– Pre-made graphical effects, such as shadows or reflections, that can be applied to elements like shapes.
To get all the built-in themes and their associated colors, fonts, and effects, go to the Page Layout tab. Then find the Themes group in the Ribbon commands of the Page Layout tab.

What Happens to Your Workbook When You Apply a New Theme?
Which Things Change with a New Theme Applied?
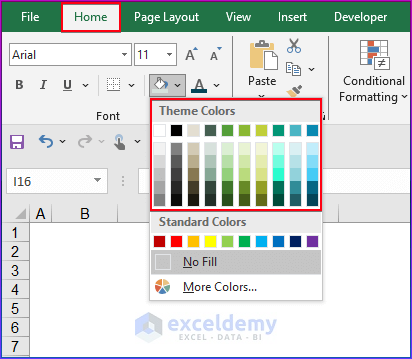
When you apply a new theme, it will change all the theme colors found in Fill Colors or Font Colors. The new theme is also reflected in table styles and cell styles.
Which Things Do Not Change with a New Theme Applied?
- If you manually pick colors in Excel using Standard Colors or More Colors (not from the Theme Colors palette), applying new Excel Themes won’t change those colors.
- Command names in the Excel ribbon do not change their font or color with the changed theme. These changes are reflected only in the spreadsheet area.
How to Apply a Predefined Theme in Excel?
You can apply a predefined theme from the Page Layout tab. Excel has listed all the built-in themes under the Themes group of commands in this tab.
To apply a theme to the worksheet, go to Page Layout ⟹ click the Themes drop-down ⟹ select any suitable theme (such as Slice, Retrospect, Parallax, Feathered, etc.).
In this case, I will choose the Berlin theme.

How to Create a Custom Excel Theme?
To create a custom Excel theme, apply a theme color and a theme font, and add a theme effect from the Themes group of commands. Then save the customized theme using the Save Current Theme command found under the Themes drop-down.
1st Step: Add New Theme Color
- To change a theme color in the worksheet, go to Page Layout ⟹ click the Colors drop-down ⟹ select any suitable color palette.
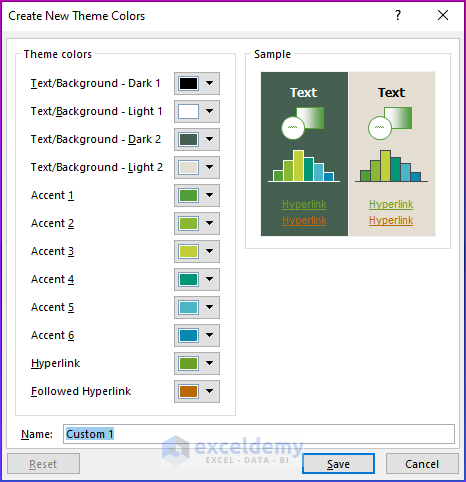
You have the option to create your own color palette in the Create New Theme Colors window.
- Click on Colors ⟹ Customize Colors ⟹ Create New Theme Colors window.

- You can create theme colors from this window according to your preference.
2nd Step: Add New Theme Font
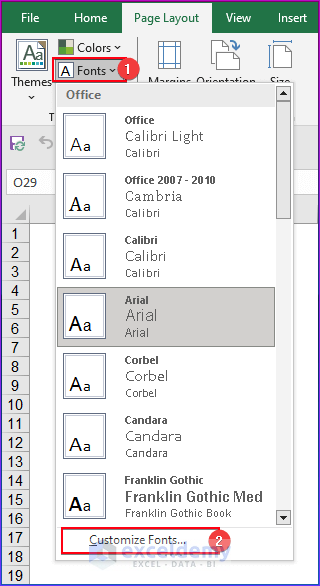
- To change a theme font in the worksheet, go to Page Layout ⟹ click the Fonts drop-down ⟹ select any suitable set of fonts.

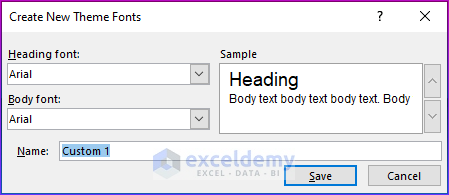
You have the option to create your own theme font in the Create New Theme Fonts window.
- Click on Colors ⟹ Customize Fonts ⟹ Create New Theme Fonts window.
- You can create theme fonts from this window according to your preference.
3rd Step: Add New Theme Effect
- Go to Page Layout ⟹ click the Effects drop-down ⟹ select any suitable theme effect.
Note:
You can select the Theme effects from the available options. You cannot create new theme effects.
4th Step: Save the Custom Theme
Now save your custom theme after adding colors, fonts, and effects according to your preference. We can use the saved custom theme for future use in other workbooks.
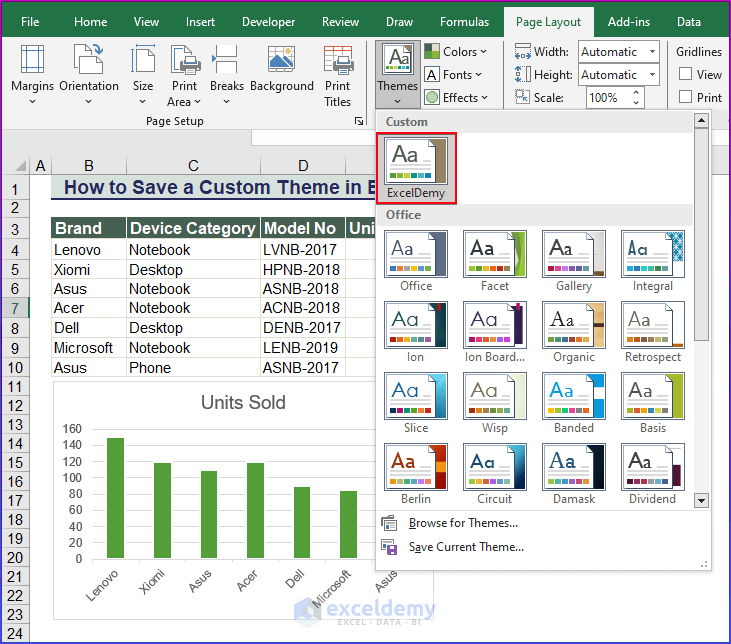
- To save a custom theme, go to Page Layout ⟹ click the Themes drop-down ⟹ click Save Current Theme.
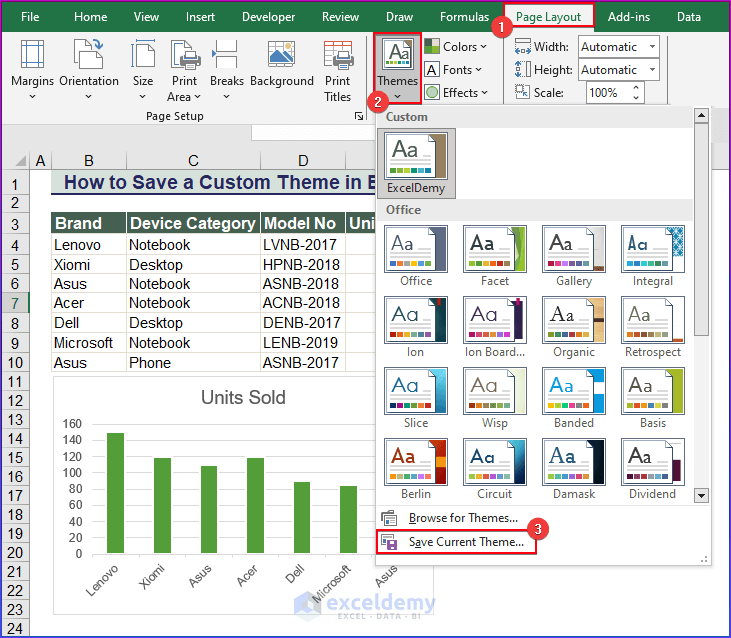
- Now, save your custom theme, giving it a suitable name. We named it ExcelDemy.

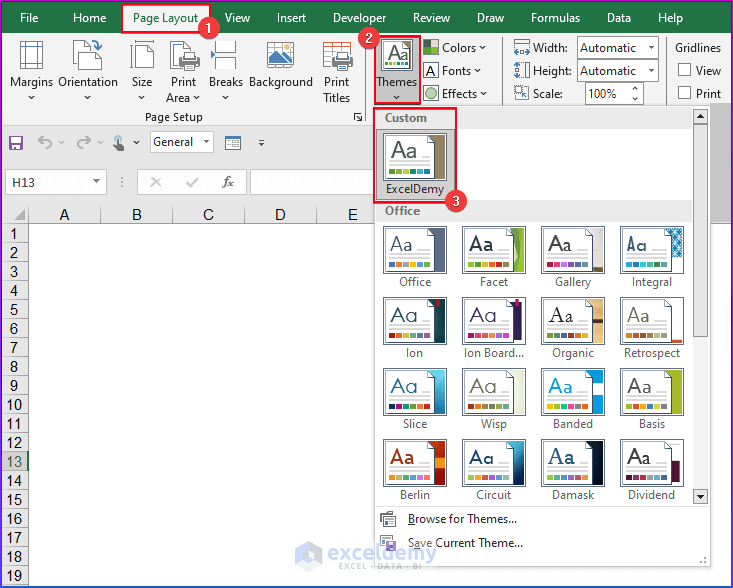
- Finally, you will see the customized Excel theme, ‘ExcelDemy‘, in the Custom section of the Themes list.
Note:
You have to save the theme in the Document Themes folder. Otherwise, you won’t see it in the Themes list.
Last Step: Apply the Customized Theme
- To apply a custom theme to the worksheet, go to Page Layout tab ⟹ click the Themes drop-down ⟹ select the custom theme named ExcelDemy.
You will see the following changes to the Excel theme in the GIF after applying the custom theme.

If you have saved the theme in other folders, not in Document Themes, you can still use your custom theme with the following steps:
- Go to the Page Layout tab ⟹ Themes ⟹ Browse for Themes ⟹ go to the folder where you have saved the theme ⟹ select the theme ⟹ Open.
If you want to see it in the Themes list, then copy it to the Document Themes folder.
How to Make a Custom Theme as Default for New Workbooks?
To make a custom theme as default for new workbooks, you have to apply the theme and save the workbook in .xltx format in the XLSTART folder. Then you have to unmark the ‘Show the Start screen when this application starts’ option.
If you set a custom theme as the default for new workbooks, every time you open Excel, Excel will enable the theme of the saved template in your new workbook.
Do the Following Steps:
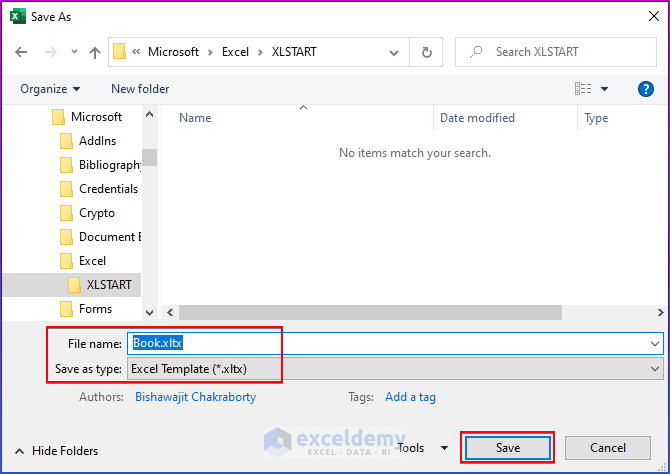
- To use a custom theme as the default theme, first create a blank workbook and apply the custom theme to it.
- Then, save it as a template (.xltx file) in the XLSTART folder of your PC. Name it Book.xltx.
The directory is like the following-
C:\Users\Asus\AppData\Roaming\Microsoft\Excel\XLSTART\
Or,
C:\Users\Asus\AppData\Local\Microsoft\Excel\XLSTART\
Caution:
Save the .xltx file in the folder as mentioned here
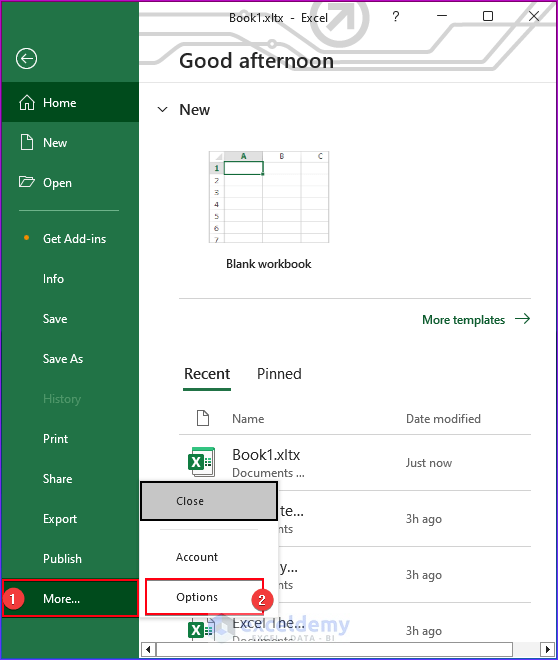
- Now, go to the File tab.

- Click on the Options.
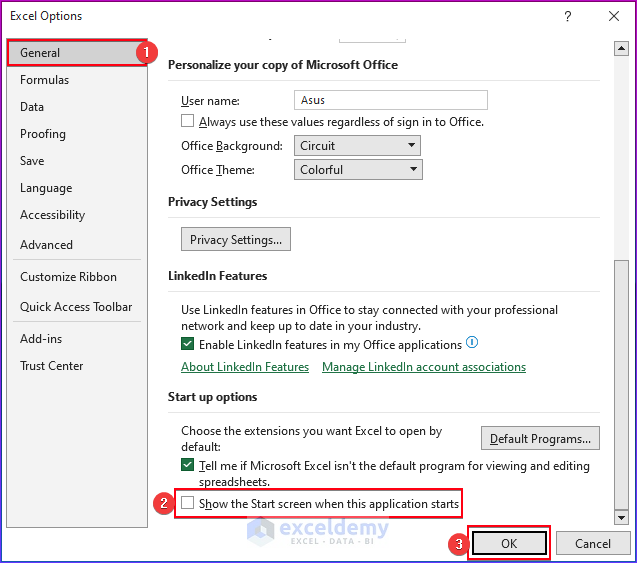
- Click on the General tab.
- Uncheck the Show the Start screen when this application starts box under the Start up options.
- Finally, click OK.
- Now, close the file and open a new blank workbook.
- Whenever you open a new Excel workbook, you will see the custom theme “ExcelDemy” has been automatically enabled in the Custom theme list.
How Do I Find the XLSTART Folder Easily?
To easily get the XLSTART folder, go to the Excel Options by pressing ALT+F+T >> Trust Center >> Trust Center Settings >> Trusted Locations >> Check the Description column and select Excel default location: User StartUp >> Click on Modify >> and copy the Path.
Now, paste this path into the Address Bar of the File Explorer.
Note:
If you still do not see the XLSTART folder in the location, disable all Excel add-ins first. Then repeat the workaround
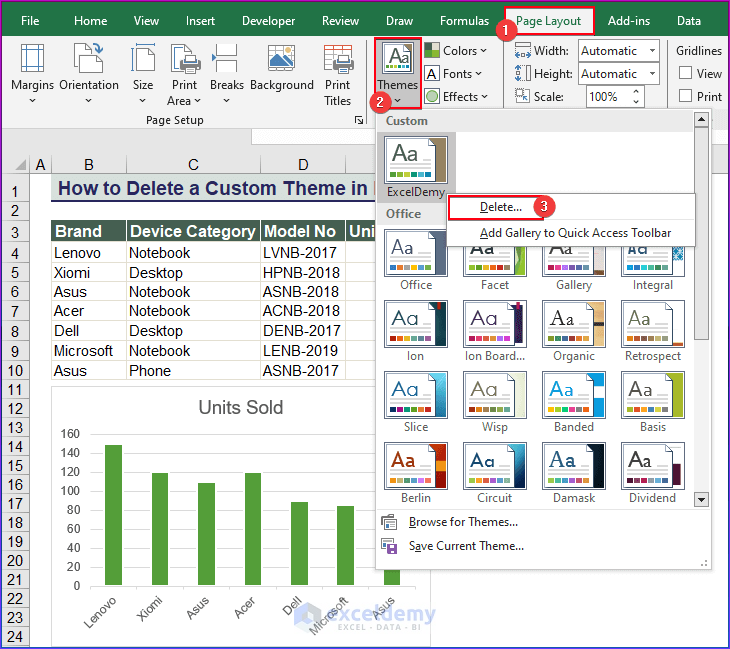
How to Delete a Custom Theme in Excel?
We can delete the custom theme in Excel at any time if it is necessary. You may want to do that to free up the space and reduce the available number of themes, or to update your themes to make them more organized.
Go to the Page Layout tab ⟹ select Themes ⟹ right-click on the custom theme ⟹ click on Delete.
Can I Delete a Predefined Theme in This Way?
No, you cannot delete a predefined theme.
Excel Themes Not Working in Your Workbook? – Check These Common Issues
In this part, we will discuss 3 common problems why the Excel themes may not work in your workbook and their solutions.
1. Cell Color or Font Color Remain Unchanged After Applying a New Theme
If you use standard colors or custom colors in your worksheet, they will not change after applying an Excel Theme.

So, if the theme change does not change the colors of your cells, check if they have been colored with a themed color or not.
In the following image, we can see that the green cells are not changing their color even after applying the Dividend theme. This green shade is taken from the standard colors set, not from theme colors.
If you use only a Theme Colors palette in your worksheet, then you will see the changes in your worksheet after applying Excel Themes.
Look at the following image: Here we have used color from the color palette in Row 1 and 3. So they are changing after applying a different theme.

2. Everything Seems Okay But Still Themes Are Not Working
There may be several reasons why themes are not working, even after you have done everything correctly. Some of the reasons are such as
– You have enabled Excel add-ins.
If so, then disable the add-ins and check again if the themes are working now.
– Maybe your Excel file is corrupt.
If your file is corrupt, then repair it and open it again.
– You have used Excel conditional formatting built-in rules like Data Bars, Color Scales, or Icon sets.
If this is the case, then nothing is wrong here. Excel themes do not change these built-in formatting colors.
3. Excel Themes Command Is Greyed Out
If you keep your worksheet protected with a password, you will see the Excel Themes feature is greyed out.

To solve this, you have to unprotect the Excel worksheet.
How to Change the Whole Excel Interface Theme?
Other than using Excel themes to change the appearance of data in spreadsheet areas, you may want to change the Excel interface theme. There are several suitable options such as Colorful, Dark Gray, Black, White, and System settings.
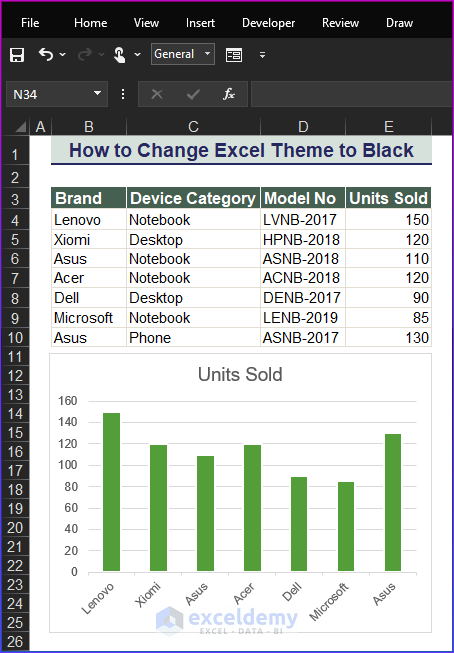
As an example, you can change your Excel theme to black from the Excel Account option. Some users may prefer a black theme because of its smooth appearance and ease of navigation.
Do the Following Steps:
- Go to the File tab.
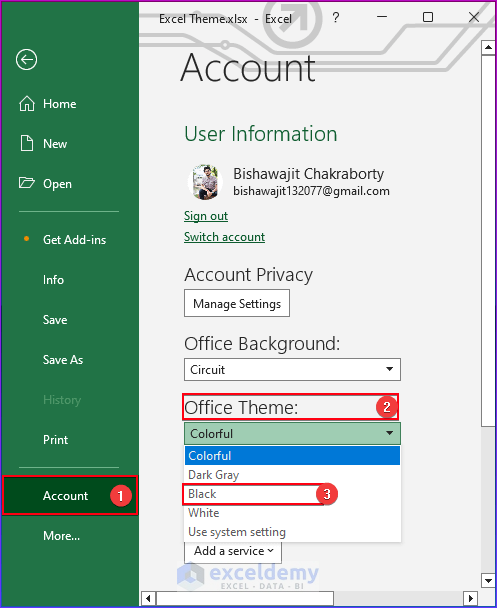
- Click on the Account option ⟹ Click on the Office Theme option ⟹ Select Black from the available color options.
- Now, you can see the black workbook in the below image.
Things to Remember When Working with Excel Themes
- The selected theme changes the theme of all of the following: pivot tables, shapes, tables, slicers, and Excel charts.
- When you share a file with a custom theme, your colleague will not see the same theme, but the colors and fonts will still be there.
- You can share your custom theme with other users by sending them the *.thmx Users need to browse the *.thmx file after downloading the file and apply it to their Excel workbook.
Download Our Customized Excel Theme
In this article, we have discussed how to apply, modify, and customize themes in your Excel workbook. I have explained everything about Excel themes, from changing color, fonts, and effects to creating your own theme. We have also discussed the common issues that you may have while working with Excel themes. Please share your thoughts with us in the comment box.
Excel Theme: Knowledge Hub
<< Go Back to Learn Excel

